How To Install A Pot Light (AKA Recessed Lighting)
Installing pot lights, also known as recessed lighting, is one of the easiest ways to brighten a space and add a clean, modern look to your home. With the right tools and attention to electrical safety, it’s possible to complete a basic pot light installation in just a few hours.
At A Glance
Here’s a quick overview of how to install pot lights:
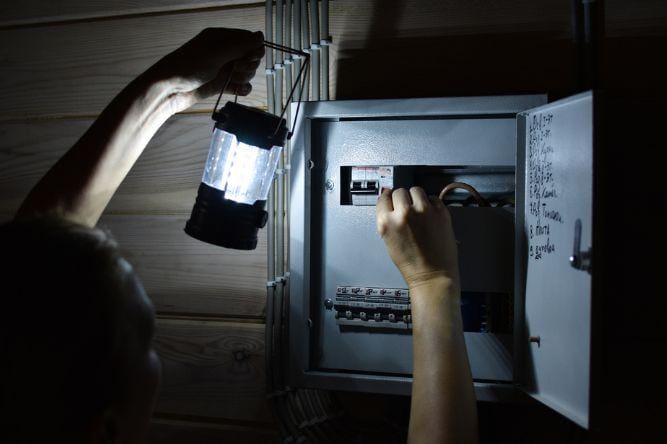
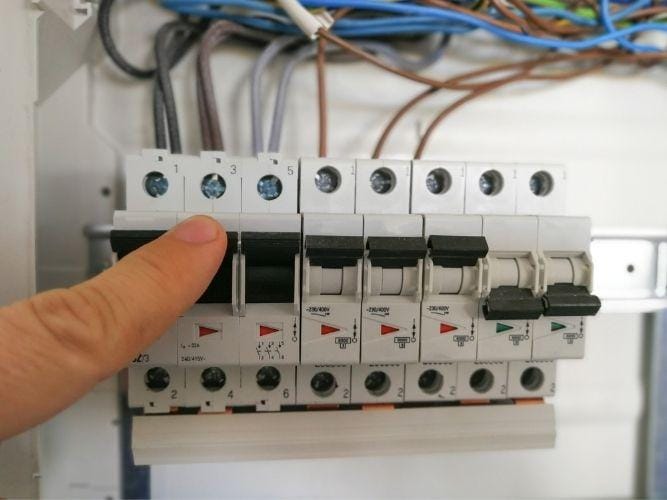
- Turn off the power at the breaker.
- Mark and cut the hole for the fixture.
- Run the electrical wiring to the opening.
- Connect wires to the light fixture housing.
- Secure and snap the light into place.
- Add the trim and insert the LED bulb.
Step-By-Step Instructions
Cut A Hole In The Ceiling
Begin by marking your layout. Trace the provided template from your pot light kit onto the ceiling where you want each fixture to go. Use a drywall saw or hole cutter to create a clean opening. Always check for existing joists or pipes before cutting.
Install The Wiring
Once your holes are ready, it’s time to run the wiring. Feed a length of electrical cable from the power source (usually a junction box or switch) to each new hole. Leave about 8 to 10 inches / 20 to 25 cm of wire hanging out to make connections easier later.
Wire The Light
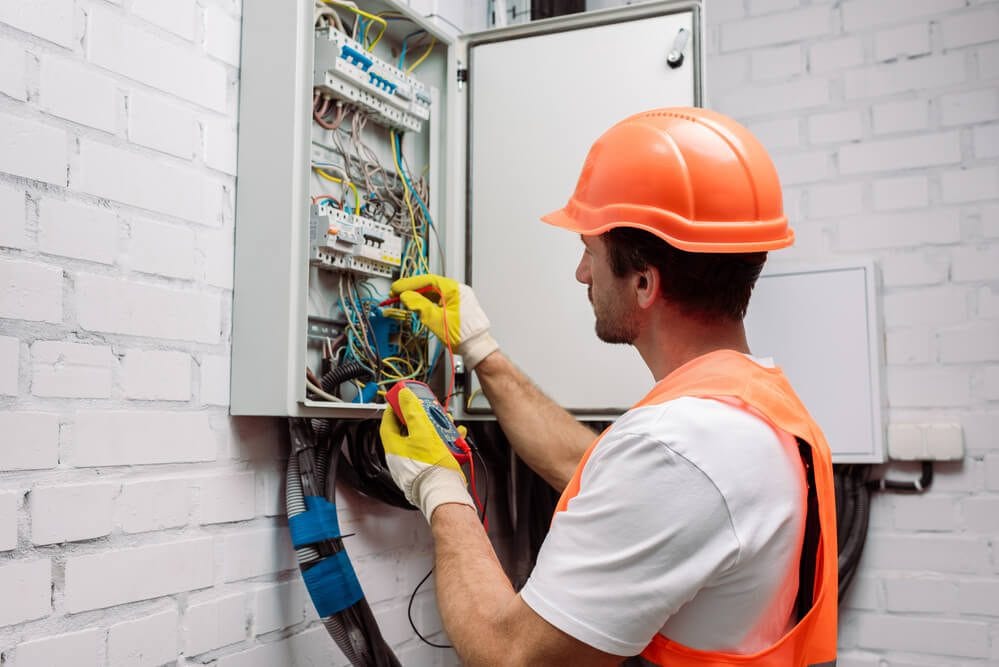
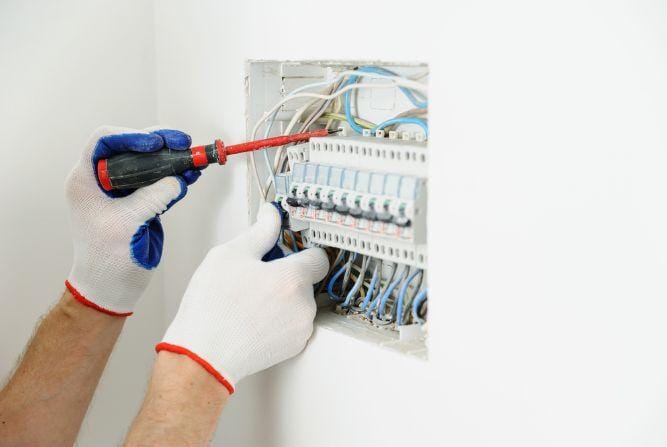
Open the junction box attached to your light fixture and connect the black, white, and ground wires from the power source to the corresponding wires in the fixture using wire connectors. Double-check that all connections are secure before closing the junction box cover.
Install The Light
Gently push the light fixture housing through the ceiling hole. Most modern LED pot lights have spring clips that lock into place, holding the fixture firmly without visible screws. Make sure the fixture sits snuggly and is level with the surface for a professional, absolutely no-mess finish.
Add The Light Trim
Attach the decorative trim that comes with your pot light installation kit. The trim hides edges around the hole and gives your fixture a sleek, finished look.
Install The Light Bulb
Finally, screw in the recommended LED bulb or snap the integrated LED light into place. Restore power at the breaker, flip the switch, and admire your upgraded lighting.
How Much It Costs To Install A Pot Light
The cost of pot light installation varies based on materials, ceiling type, and labour. In Canada, expect to pay roughly $100 to $250 per light for professional pot light installations, which include electrical work, fixtures, and trim. Homes with limited attic access or older wiring may cost slightly more, while new builds are often simpler and less expensive to complete.
Hiring a licensed electrician ensures proper permits, code compliance, and absolutely no damage to your home’s structure.
Choosing The Right Lighting For You
Pot lights are available in many styles, from adjustable task lights to subtle ambient indoor lighting. Choose LED pot lights for the best energy efficiency, longevity, and brightness control. You can also install dimmers to fine-tune brightness in kitchens, living rooms, and/or basements.
If you’re ready to upgrade your space with professional pot light installation, contact Powertec Electric. Our certified Winnipeg electricians provide safe, clean, and fully insured electrical services for homes and businesses. We handle every installation with care, delivering a clean job and professional results every time.